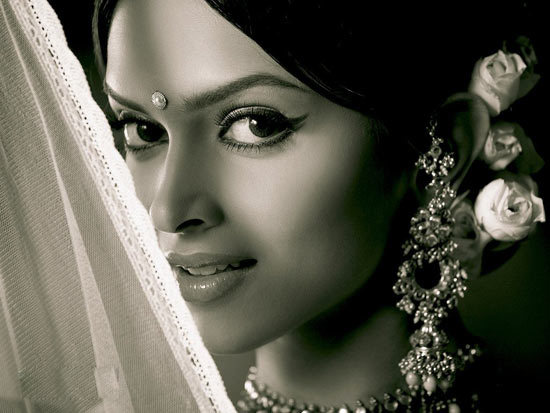
We all love copying dressing and makeup styles of popular bollywood actresses. Today we will show you a very well known look from bollywood – Deepika Padukone’s bollywood eye makeup look from Om Shanti Om.
I’ve tried to do this bollywood actress eye makeup tutorial in my own way. You can add your own set of colours or accessories for this look. Keep this look simple and this can be tried as a day makeup too.
Bollywood Eye Makeup Tutorial
Some simple and easy things that you will need for this eye makeup look are as follows:
- A concealer and foundation
- A face compact
- Eye shadow (colours needed – light shimmer mauve or a skin colour and a silver shadow for highlighting)
- Kajal
- Black liner pencil
- Liquid eyeliner
- Mascara
- Lash curler
- Lash comb
Accessories needed for completing the look:
A bindi, floral hair accessories, a light lipstick in pink and a liner, a lip gloss and a little blush for the cheeks.
Step 1:
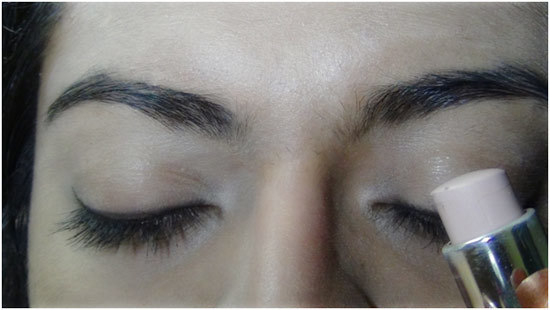
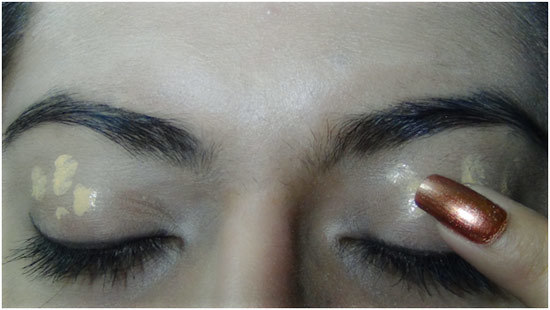
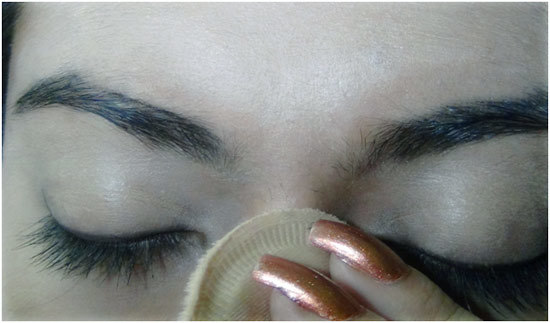
On clean eye lids, apply concealer and foundation. Follow it up with a compact for a flawless texture.
Step 2:
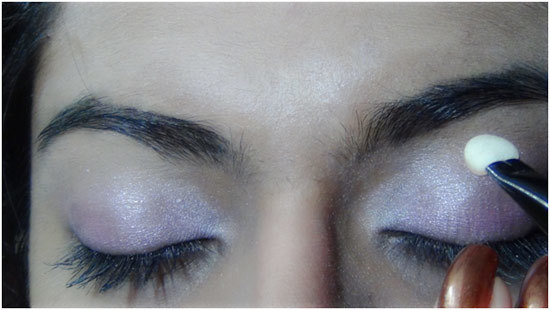
Apply the Shimmer mauve eye shadow on the whole of the eyelids. Do not extend it in a tail. Just keep the eye shadow on to the lids only.
Step 3:
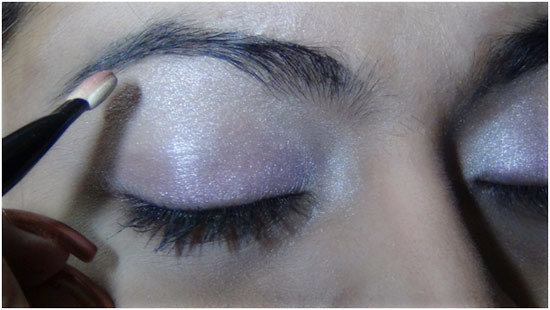
Apply the silver highlighter or silver eyeshadow on the whole of the crease, on to the brow bones, at the eye nose junction and blend it well.
Step 4:
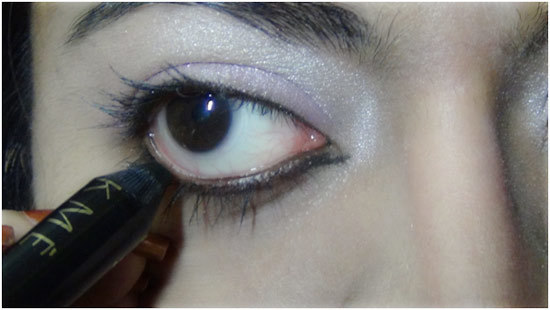
Time for kajal application. Use kajal or a black liner pencil (whichever you are comfortable using). Use on the lower rim properly.
Step 5:
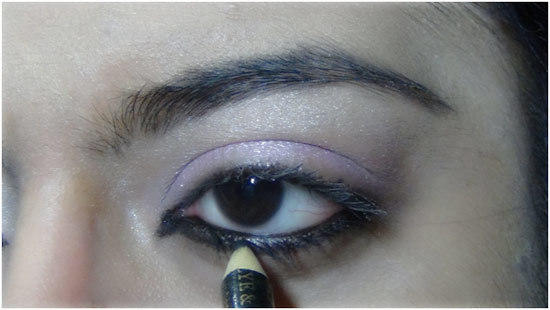
Use the liner pencil following the line of the eyes just below the waterline too. Extend a bit towards the nose. Follow the picture below.
Step 6:
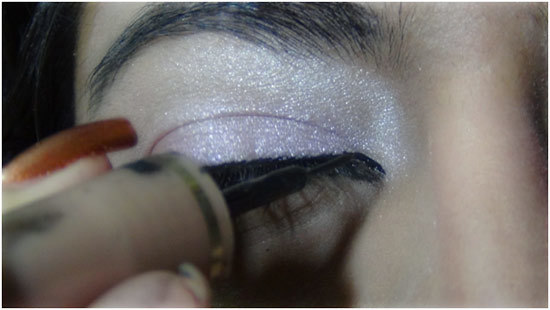
Time for liquid liner application. Start at top lid in a little extended form by drawing a small line.
Step 7:
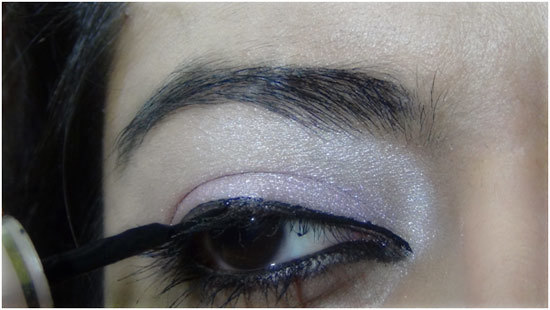
Drag the line such that it covers the lash line properly.
Step 8:
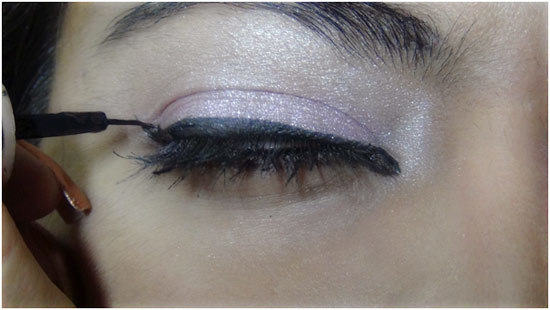
When the lash line is properly covered , define the line once again and broaden the exterior.
Step 9:
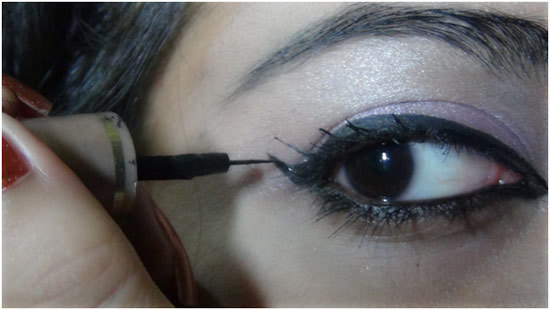
Carefully give the tail a swipe towards the top. You must have a very sleek and fine brush for this tail drawing.
Step 10:
When the top wing is complete, extend the lower liner in a straight line with a liquid liner only. This is why we drew the lower rim lining with a liner pencil. This will not give you a proper extension , no matter how finely it is sharpened. So use a liquid liner only with a sleek brush for these extentions and wings.
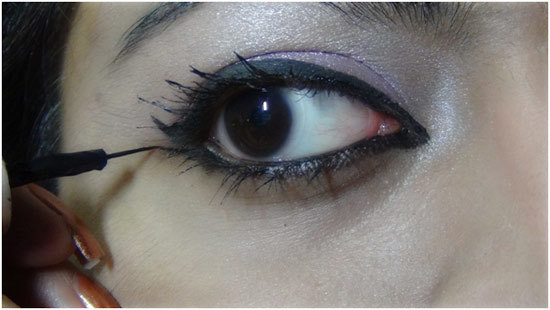
This is how it looks when completed.
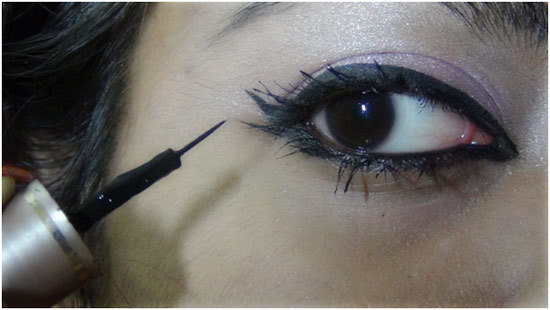
Step 11:
Here is a final look at how it should look after the above steps are complete.
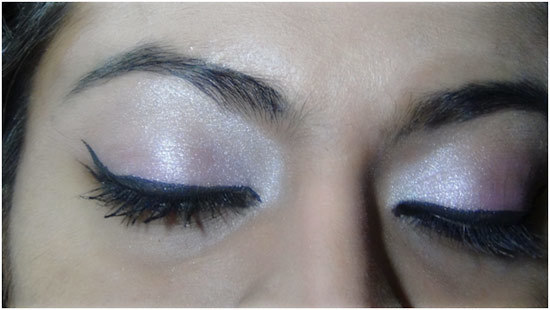
Step 12:
Use mascara in a top to down fashion on the upper lashes and a zig zag manner on the lower lashes.
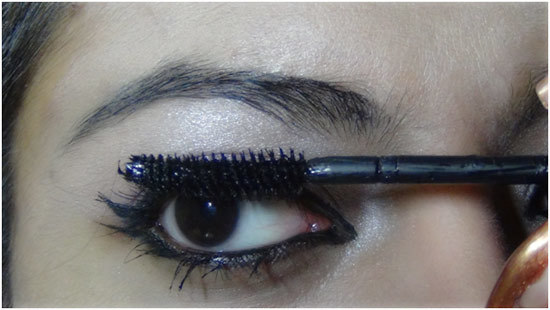
Step 13:
Brush out any clumps with a mascara brush.
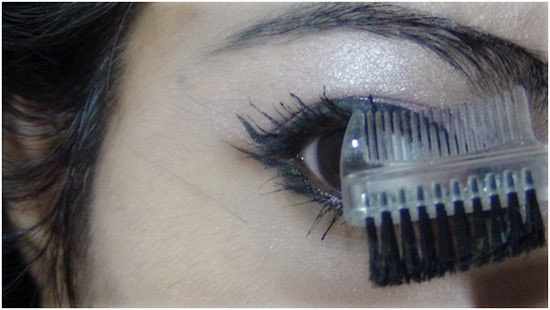
Step 14:
Use a curler for added curling if required.
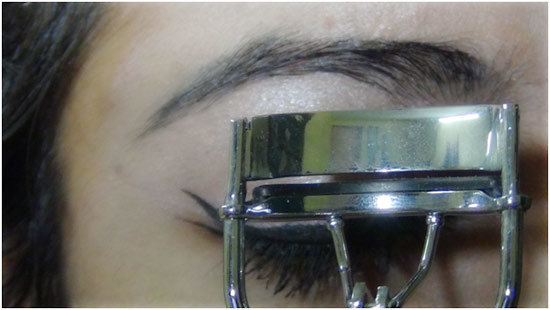
Step 15:
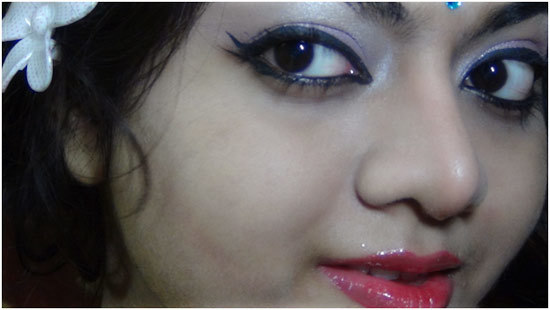
Make a middle parting of hair and tie a back bun. Use a floral hair accessory. A light lipstick in pink with a darker lip liner and some gloss will complete the look. Use a little blush for contouring the cheeks but not too much. This is a light makeup look. Use a bindi for the finishing touch.
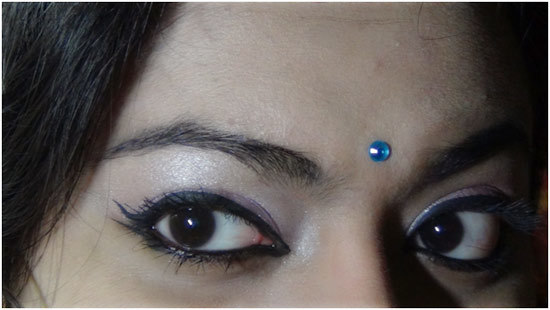
And there you have the Om Shanti Om Look.
No comments:
Post a Comment